1. Registration / Sign Up
You can register on OnBBits using two methods:
a. Email & Password
- Open the OnBBits website and click Register.
- Fill in your full name, email, and password.
- Accept the Terms and Conditions.
- Click Register.
- You’ll receive an email verification link (valid for 24 hours). Click the link to activate your account.
b. Google Sign-In
- Open the registration page and click Register with Google.
- Accept the Terms and Conditions.
- Authenticate via Google OAuth.
Once registration is successful, your OnBBits account is created, and a confirmation message will be displayed.
c. Tips for Smooth Registration
- Always use a valid email address for verification.
- Ensure you accept Terms and Conditions before clicking register.
- For Google sign-in, make sure your Google account is active and authorized.
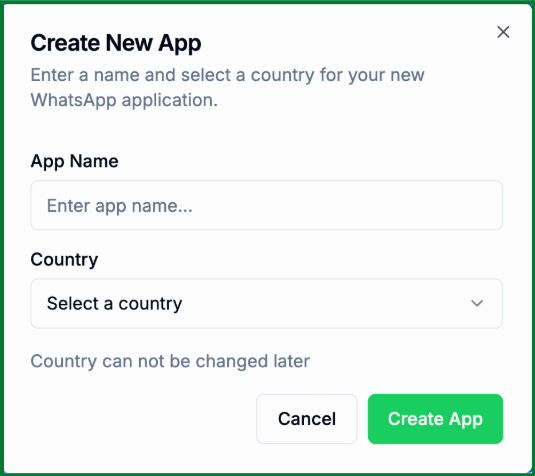
2. Creating Your First App
- After registering, you can create your first app to start exploring OnBBits features.
- Log in to your OnBBits account.
- Click Create New App in the App Dashboard.
- Fill in the following details:
- App Name – choose a descriptive name for your app.
- Country – select the country of your app’s origin (used for billing purposes).
- Click Create.
- Your app will appear in the dashboard with access to Free Plan features and default wallet credit for testing.
Free Plan Features
- Up to 10 tags for organizing messages.
- Template message creation for notifications and updates.
- Live chat dashboard for interacting with customers.
- Free service conversations to explore platform features.
Wallet Credit
Your app comes with a default wallet credit you can use to test sending messages and exploring automation. Credits are consumed per message or interaction.
This concludes the Getting Started guide for OnBBits. To proceed further, connect your app with Meta and start sending messages using either template or direct messages. Explore other articles in our help center for more advanced features and tips.